
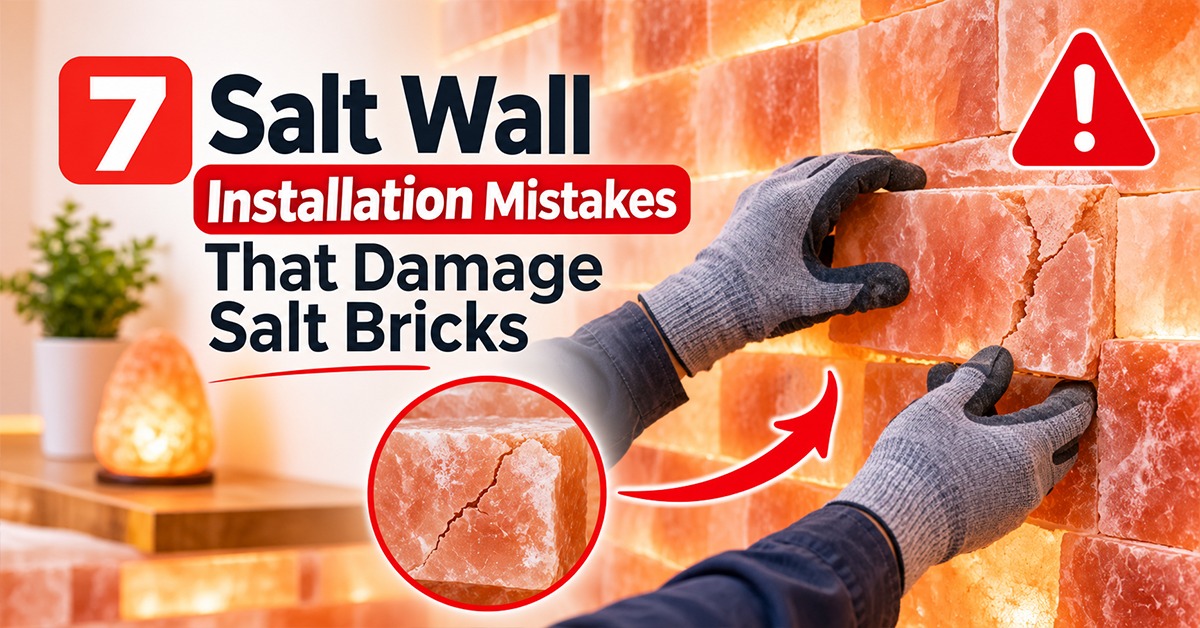


A Himalayan salt wall can become damaged when the support system is weak, the adhesive is unsuitable, moisture reaches the bricks, or lighting and layout are poorly planned. They require a firm and dry ground with the right adhesive, adequate assistance, arranged LED illumination, and continuous maintenance. These seven mistakes, if avoided, can be of great help in protecting the salt bricks and the entire wall system!
7 Most Common Himalayan Salt Wall Installation Mistakes?
1. Using a Weak or Unsuitable Substrate
The first Himalayan salt wall installation mistake is using a weak, damaged, or damp surface. Salt bricks are heavy. The wall, backing, framing, and attachment system must be able to support the finished wall.
Before installation, check:
- Wall condition
- Wall framing
- Studs and support points
- Backing material
- Cracks
- Water damage
- Damp areas
- Electrical openings
- Planned wall weight
A salt wall is usually used for an interior ornament. Otherwise, it should not be considered a structural wall unless designed as such.
What Makes a Substrate Suitable?
A proper substrate should be robust, stable, sterile, and dry. It will also have to support the anticipated assembly of a salt-brick wall.
The correct backing depends on:
- Salt-brick thickness
- Wall size
- Framing
- Installation method
- Lighting system
- Building structure
Avoid: Assuming normal drywall or drywall anchors can support a heavy 2-inch salt-brick wall.
2. Using the Wrong Adhesive
Using the wrong adhesive on your salt wall installation is a big salt wall installation mistake when it comes to confirming if that particular type of salt adhesive works for both salt bricks as well as their surface material. Suitable for the adhesive depends on the conditions and method of installation in the room.
Check the adhesive for:
- Salt compatibility
- Substrate compatibility
- Bond strength
- Application method
- Working time
- Curing time
- Temperature limits
- Moisture conditions
Pink Salt Wall recommends Saltite adhesive for its salt-wall systems. If you are using this salt wall system, use current product instructions.
Why Does Adhesive Curing Matter?
Adhesive takes time to cure. In case of early moving bricks, the bonding is not good if there is non-alignment between them.
Do not use: Ordinary adhesive, applying glue to wet surfaces, or moving bricks after applying glue.
3. Allowing Excess Moisture to Reach the Salt Bricks
One of the most common Himalayan salt wall installation issues is excess moisture. Natural salt is hygroscopic. It also means that it can suck moisture from the surrounding air.
Exposed salt and other wall materials will be impacted by direct water, leaks from plumbing above, condensation of moisture within walls, as well as steam, which can have a high impact also!
| Moisture source | Possible problem |
| Direct water | Salt surface damage |
| Condensation | Local moisture exposure |
| Plumbing leaks | Salt and wall damage |
| High moisture | Moisture absorption |
| Steam | More moisture exposure |
| Damp substrate | Adhesive and backing problems |
| Wet cleaning | Repeated moisture exposure |
How Can Moisture Damage Salt Bricks?
Salt can absorb moisture. Repeated water exposure can also dissolve exposed salt.
Protect the wall by:
- Fixing leaks quickly
- Keeping water away from the bricks
- Reducing condensation
- Keeping the substrate dry
- Avoiding unnecessary wet cleaning
- Checking room conditions before installation
- Following adhesive requirements
Avoid: Implementing salt bricks in uncoordinated water areas, together with excessive condensation or steam penetrating the material within the design of your complete system.
4. Underestimating the Weight of Himalayan Salt Bricks
Underestimating salt brick wall weight is a major installation mistake. Himalayan salt bricks are much heavier than many common decorative wall materials.
Pink Salt Wall lists its standard full salt brick at 8 × 4 × 2 inches and about 5.2 lb. The company also identifies its Himalayan salt bricks as coming from the Khewra Salt Mines in Pakistan.
An 8 × 4-inch brick has a face area of 32 square inches. One Sq/ ft has 144 square inches:
144 divided by 32 = 4.5 bricks cover one square feet
At 5.2 lb per brick:
4.5 × 5.2 = about 23.4 lb of salt per square foot
| Salt-brick specification | Approximate value |
| Full brick size | 8 × 4 × 2 in |
| Weight | 5.2 lb |
| Face area | 32 sq in |
| Bricks per sq ft | ~4.5 |
For example, a 20-square-foot wall would need about 90 full-brick equivalents and about 468 lb of salt.
This is only the salt weight. The complete wall will weigh more after adding:
- Adhesive
- Backing
- Framing
- Hardware
- LED components
- Electrical components
What Should Be Included in the Load?
The complete wall load should include:
- Full salt bricks
- Half bricks
- Cut pieces
- Adhesive
- Backing
- Framing
- Mounting hardware
- LED components
- Other permanent materials
Avoid: Treating a 2-inch salt-brick wall like a lightweight decorative tile wall.
5. Installing LED Lighting After the Salt Wall Is Finished
Planning the LED lighting before the salt brick installation. Wiring and lighting components can be out of reach after completion as well.
Himalayan Salt Bricks can show their true color and texture by using backlighting. But when the LEDs are not properly placed, we will get bright spots and dark areas or uneven lighting.
Before starting your project, explore salt wall kits to find coordinated options for building a backlit Himalayan salt brick wall.
What Should Be Planned Before Installation?
Plan:
- LED type
- LED position
- Light spacing
- Wiring route
- Power supply
- LED driver
- Lighting cavity
- Heat management
- Electrical access
- Service access
- Lighting tests
Why Is Service Access Important?
Service access is an important step because LED drivers will require inspection or replacement. Repairs then are difficult if they have been closed in behind the bricks.
Avoid: Avoid Wiring salt bricks first and assessing hidden wiring late
6. Skipping the Dry-Fit and Layout Stage
If you skip the layout and dry-fit stage, it can cause uneven joints and require cuts that would be unnecessary or poor alignment.
Dry fitting help to keep the salt bricks in place before applying adhesive
Before bonding, check:
- Brick direction
- Starting point
- Joint pattern
- Corners
- Edge pieces
- Required cuts
- Electrical outlets
- LED positions
- Access areas
- Brick quantity
- Spare material
Why Is Salt Wall Layout Planning Important?
Good layout planning connects the salt bricks, wall size, framing, lighting, electrical openings, corners, and joints.
It also helps reduce cutting and material waste.
Keep extra material available for:
- Cuts
- Breakage
- Corners
- Edge pieces
- Future repairs
Avoid: Ordering or using only the exact calculated number of bricks.
7. Cleaning Salt Bricks With Excessive Water
Another salt wall installation mistake is cleaning the Himalayan salt bricks with water. It will dissolve any exposed salt and just make the wall wetter than it needs to be.
Avoid:
- Soaking the bricks
- Pressure washing
- Steam cleaning
- Repeated wet wiping
- Abrasive cleaners
- Harsh chemicals
- Scraping the salt surface
For normal dust, use a suitable dry-cleaning method recommended for the product.
How Should a Salt Wall Be Maintained?
Regularly check for:
- Loose bricks
- Cracks
- Surface damage
- Moisture
- Condensation
- Adhesive problems
- Wall movement
- LED problems
- Electrical problems
- Water leaks
Catching problems early can prevent repairs from becoming harder.
Do: Check the cause of a loose or heavily damaged brick before it happens
Himalayan Salt Wall Installation: Correct Procedure
A proper Himalayan salt wall installation begins with an evaluation of the total wall system. This means the salt bricks, substrate, backing (which can be wood or metal), framing materials utilized for construction angles, adhesive, and other types of LED lighting that will shine around both active areas, in addition to numerous electrical aspects influencing any room.
Recommended Installation Sequence
- Check the wall and framing.
- Calculate the complete wall weight.
- Confirm brick size and quantity.
- Allow for cuts and breakage.
- Select a compatible adhesive.
- This means you are establishing the backing and support system.
- Design the layout of LED lights and wiring.
- Arrange for access to power supply and driver.
- Dry-fit the salt bricks.
- Look in corners, joints, and at electrical openings.
- Prepare bonding surfaces; clean and dry.
- Follow the directions of the adhesive when it comes to applying.
Large and heavy-duty industrial, or intricate tasks often need trained structural as well as electrical specialists wherever needed.
How To Keep Himalayan Salt Bricks Dry?
Avoiding direct contact with water helps to keep your himalayan salt bricks dry.
Moisture Protection Checklist
- Keep water away from the salt bricks.
- Repair leaks quickly.
- Reduce condensation.
- Keep the substrate dry.
- Avoid wet cleaning.
- Check airflow where needed.
- Follow adhesive requirements.
- Inspect the wall regularly.
- Check high-moisture areas before installation.
A salt wall is not waterproofing. It should never be used to stop water from entering a building.
When Should You Hire a Professional for Salt Wall Installation? Hire a professional that time when you are working on large projects, such as building a large wall or using a complex LED system. They will guide you to install salt bricks in an efficient way without any risk. For example, the Pink Salt Wall team helps their customers build a strong and long-lasting wall.
Professional review can be useful for:
- Large feature walls
- Heavy 2-inch salt bricks
- Restaurants
- Hotels
- Spas
- Wellness interiors
- Custom framing
- Reinforced backing
- Complex LED systems
- Difficult electrical work
- High-moisture environments
The basic relationship is simple:
The structure supports the wall. This supportive backing aids in sharing the weight. And it is the glue that holds the bricks of salt. Moisture control protects the salt. They deliver the lighting via LED and electrical systems. Maintenance is essential to protect the completed wall.
Conclusion
A good Himalayan salt wall is more than just using the blocks of sodium chloride, glue, and artwork. LED lighting is correctly rated and the wall supported, moisture control administered from day one.
Dry- fitting, careful curing, electrical planning and safety (to avoid hazards), clean as well as preparing to inspect on time, respectively. You shall always follow what is the currently accepted model and related structure/ electrical power codes for your certain install.
Frequently Asked Questions
What is the biggest Himalayan salt wall installation mistake?
The greatest threats are weak infrastructure and wetness. The bulky salt bricks require proper support, and the natural one requires protection from repeated water as well as excess dampness.
Can Himalayan salt bricks be installed directly on drywall?
Not automatically. Verify the framing, supporting elements, and total wall weight for mounting heavy salt bricks as listed above before attaching them.
What adhesive should be used for Himalayan salt bricks?
Use an adhesive that is suitable for the salt material and substrate. Pink Salt Wall uses Saltite in its salt-wall systems. Always follow the current product instructions.
Can Himalayan salt bricks get wet?
Need to be protected from direct and repeated exposure to water. Common salt can dissolve in water, and also, it absorbs as well.